How to Weld Flanged Pipe in 2026?
Welding Flanged Pipe in 2026 demands more than a clean joint and a powerful arc. It requires controlled preparation, compatible materials, accurate alignment, and records that another technician can trust. This guide introduces a practical method for carbon steel, stainless steel, and selected alloy piping systems. Actual procedures must follow approved drawings, qualified welding procedures, project specifications, and applicable codes. The welder’s experience still matters. A small mismatch at the flange face can create uneven bolt loading, gasket damage, or a leak during service. Before striking an arc, inspect the flange rating, bore, bevel, heat treatment requirements, and cleanliness. Protect the sealing face from spatter. Use suitable clamps, calibrated tools, and measured tack welds to keep the pipe centered.
The welding sequence should limit distortion without trapping stress in the assembly. Fit-up gaps, root penetration, interpass temperature, shielding gas, and consumable storage deserve close attention. For stainless steel, contamination control is critical; carbon-steel tools can leave damaging iron particles. For field work, wind screens and dry conditions help stabilize shielding gas. Do not trust appearance alone. Visual inspection should be supported by appropriate nondestructive testing when risk, code, or service conditions require it. A sound weld can still fail if the flange is warped or bolts are tightened unevenly. This 2026-focused introduction will examine preparation, welding technique, inspection, and post-weld checks. It will also question convenient habits that seem efficient but reduce reliability. Some recommendations may need adjustment. Pipe size, material, position, access, and service temperature change the correct decision. Careful judgment remains essential.
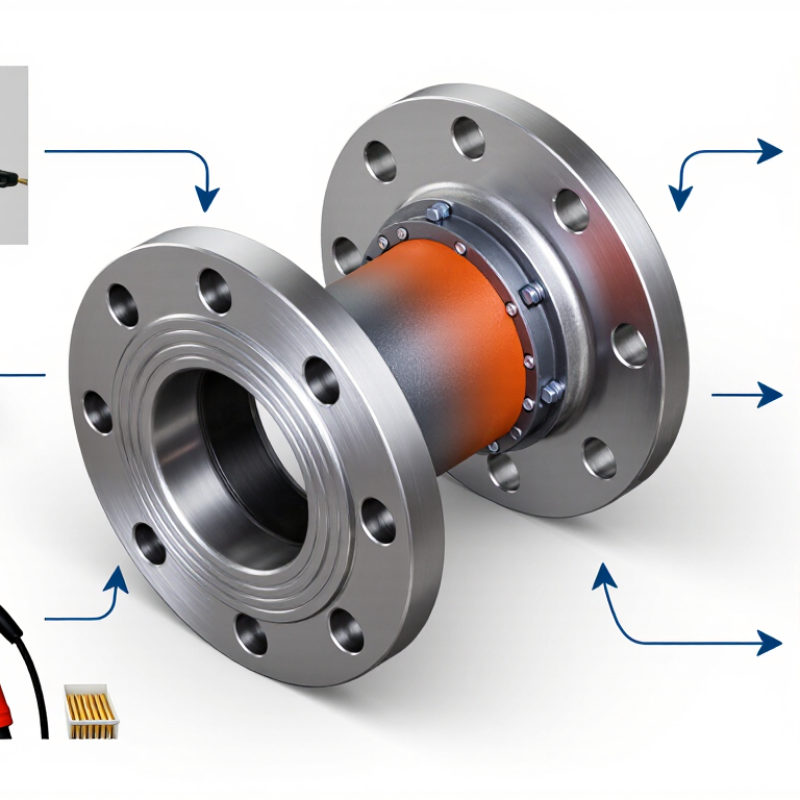
Safety Requirements and Welding Standards for Flanged Pipe in 2026
How to Weld Flanged Pipe in 2026?
Safety Requirements and Welding Standards for Flanged Pipe in 2026
In 2026, flanged pipe welding should follow the project’s adopted pressure-piping code and local safety rules. Common references include ASME B31.3, ASME B31.1, ASME Section IX, ISO 15614-1, and ISO 9606-1. The engineer must confirm which edition applies. Never assume the newest edition is automatically accepted. Review the approved welding procedure before work begins. It should define joint preparation, filler metal, preheat, interpass temperature, shielding gas, and post-weld treatment. Welders also need current qualifications for the process, material, and position. Material certificates and heat numbers should remain traceable.
Safety starts before the arc is struck. Isolate, depressurize, drain, and lock out every connected line. Test the atmosphere when pipes may contain hazardous vapors. Use a hot-work permit, fire watch, ventilation, welding screens, and suitable face, hand, and body protection. Keep flange faces covered during grinding and alignment. Small damage can cause a serious sealing failure. Tack the flanges evenly, then verify face alignment, bolt-hole orientation, root gap, and internal cleanliness. A clean-looking weld can still contain defects, so inspection should match the code. Visual examination may be followed by dye penetrant, magnetic particle, radiographic, or ultrasonic testing. Pressure testing requires documented limits and controlled exclusion zones. Even experienced crews miss details under schedule pressure. Pause and check the records.
How to Weld Flanged Pipe in 2026?
Safety Requirements and Welding Standards for Flanged Pipe
What the chart shows: Common ASME B16.5 flange pressure-class designations used for flanged piping. The class number is not a universal pressure value; allowable pressure depends on flange material, temperature, size, gasket, bolting and the applicable design code.
Welding safety requirements: Confirm the approved welding procedure and welder qualification, clean and align the flange before welding, control distortion and heat input, protect the flange sealing face, use suitable eye and respiratory protection, provide ventilation, control fire hazards, and complete the required visual, dimensional and non-destructive examinations.
Standards to verify for the project: ASME B16.5 for pipe flanges and flanged fittings, ASME B16.47 for large-diameter steel flanges, ASME Section IX for welding procedure and welder qualification, and the applicable piping construction code such as ASME B31.3 or ASME B31.1.
Tools, Materials, and Flange Preparation Before Welding
How to Weld Flanged Pipe in 2026?
Before welding, inspect the flange like a precision component, not a simple ring. Confirm its material, pressure class, facing, bore, and heat-treatment requirements. ASME B16.5 provides dimensional and pressure-temperature guidance for many flanges. The connected pipe must be aligned without forcing the flange into position. Check the gap with calibrated gauges, then clean rust, oil, moisture, and paint from the weld zone. A clean bevel gives the arc a stable path.
Use a qualified welding procedure, suitable filler metal, dry electrodes, a calibrated welding machine, clamps, temperature crayons, and proper ventilation. Record preheat and interpass temperatures. AWS’s 2023 Welding Workforce Data report estimated that the American industry may need 330,000 new welding professionals by 2026. That shortage makes disciplined preparation more important, because rushed work often hides preventable defects. I still find flange alignment easy to underestimate.
Tips:
Tack weld at four opposing points. Measure face runout before final welding. Keep the bolt holes correctly oriented. Do not use bolts to pull badly aligned pipe into place. Control heat input around the flange, or its face may distort. After welding, inspect the root and cap visually, then apply the specified nondestructive test. ASME B31.3 and the approved project specification should control acceptance criteria. Human judgment matters, but undocumented judgment is difficult to defend.
How to Align, Fit Up, and Tack-Weld the Flanged Pipe
How to Weld Flanged Pipe in 2026?
A sound flanged-pipe weld starts with accurate alignment, not the arc. Inspect the flange, pipe end, bevel, and gasket face for damage. Keep the raised face covered during handling. Remove oil, paint, rust, and moisture from the weld area. Confirm the flange rating and material match the approved welding procedure. Check bolt-hole orientation before fitting. Small errors become expensive later.
Set the pipe on stable supports and align the bore without forcing the flange. Use a calibrated level, straightedge, or alignment clamp where appropriate. Maintain the specified root gap and internal alignment from the welding procedure. Fit the flange square to the pipe centerline. Tack weld at four opposite points. Longer tacks may resist movement, but they can also increase distortion. I have seen fit-ups look perfect until the third tack pulls the flange off-center. Recheck after every tack.
Use a qualified welder and follow the approved sequence, filler metal, preheat, and interpass limits. Keep the flange face cool and protected from spatter. Alternate weld locations when the procedure allows it. Measure flange squareness again before completing the root pass. Do not hammer a misaligned flange into place. Stop and correct the fit-up instead. That extra pause often prevents gasket leaks, bolt stress, and costly rework. Document the inspection results, including alignment, tack condition, and any repair.
Step-by-Step Welding Procedure for Flanged Pipe Joints
How to Weld Flanged Pipe in 2026?
Step-by-Step Welding Procedure for Flanged Pipe Joints
Begin with a qualified welding procedure specification, or WPS. Confirm the pipe grade, flange rating, filler metal, preheat range, and joint design. The 2023 American Welding Society workforce report projected a shortage of 330,000 skilled welders by 2026. That shortage makes disciplined procedures more important, not less.
Clean the bevel, flange neck, and adjacent pipe surface thoroughly. Remove oil, scale, moisture, and loose rust. Fit the flange with the correct orientation and bolt-hole position. Leave the recommended root gap. Check face alignment with a straightedge and measure runout before welding. Tack weld at four evenly spaced points. Recheck alignment afterward. This step is often rushed.
Weld using the approved process and amperage. Keep the arc away from the flange sealing face. Apply short, balanced passes around the joint to reduce distortion. Monitor preheat and interpass temperature with temperature crayons or a calibrated meter. For stainless steel, use suitable shielding and purge the pipe interior when the WPS requires it. Do not trust appearance alone. After cooling, inspect for undercut, porosity, cracks, and incomplete fusion. Dimensional checks should include flange squareness and bolt-hole alignment. A visual inspection may miss internal defects, so radiographic or ultrasonic testing should follow the project’s inspection plan.
Personally, I would document every temperature reading; memory is unreliable.
Inspection, Testing, and Finishing After Flange Welding
After flange welding, inspection should begin only when the joint has cooled safely. Do not rush. Allow enough time for shrinkage and distortion to appear. Check the weld profile, arc strikes, undercut, cracks, and visible porosity under suitable lighting. Measure flange alignment, face runout, and bolt-hole orientation with calibrated tools. Record readings clearly, including the welder identification and welding procedure used.
Visual inspection cannot reveal every internal defect. For critical piping, qualified inspectors should select magnetic particle or dye penetrant testing for surface cracks. Radiographic or ultrasonic testing may be required by the project specification. Pressure testing must follow an approved procedure and current safety requirements. Hydrostatic testing is commonly preferred when practical. Pneumatic testing needs stricter controls because stored energy creates greater risk. Never treat a passed pressure test as proof of perfect workmanship.
After acceptance, remove spatter without damaging the flange face. Clean the gasket seating surface with a non-abrasive method. Protect the face and bolt holes from impact, moisture, and dirt. Confirm that the flange remains square before installing the gasket. Use calibrated torque equipment and the specified tightening sequence. Recheck bolt tension when required by the procedure. One recurring field lesson is easy to overlook: clean welds can hide poor alignment. A second inspection is sometimes worthwhile, even when the paperwork looks complete.